Based off how my previous wave embroidery project went, I decided I’ll stitch a design solely focussed on a simple fill stitch. This is such a key feature and skill to embroidery, I realized I need to perfect this to be able to create more designs!
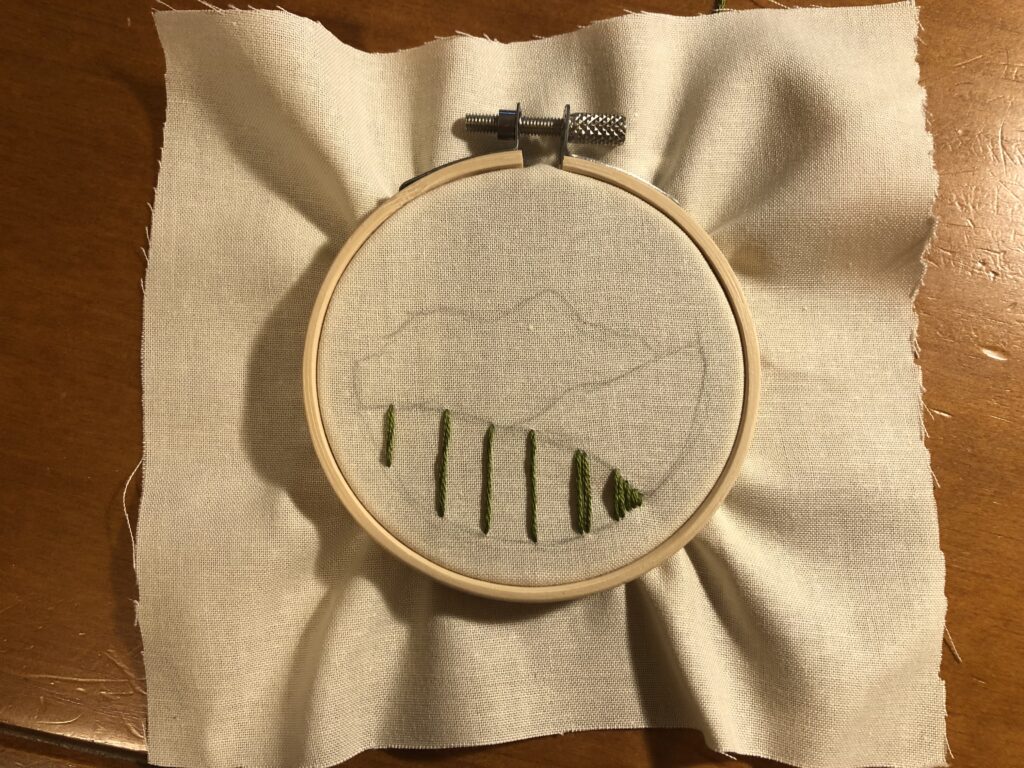
I decided to use the satin stitch as it was the most simple, and in my opinion, most elegant looking. To reduce the amount of thread on the backside, I stitched top to bottom, bottom to top. (versus top to bottom, top to bottom, etc.) I also did this particular method to visually mark out vertical lines as a guide so all my stitches will be straight. This helped me a lot especially when I switched to different colours, and I could use the previous satin stitches as reference.
Some reflective thoughts:
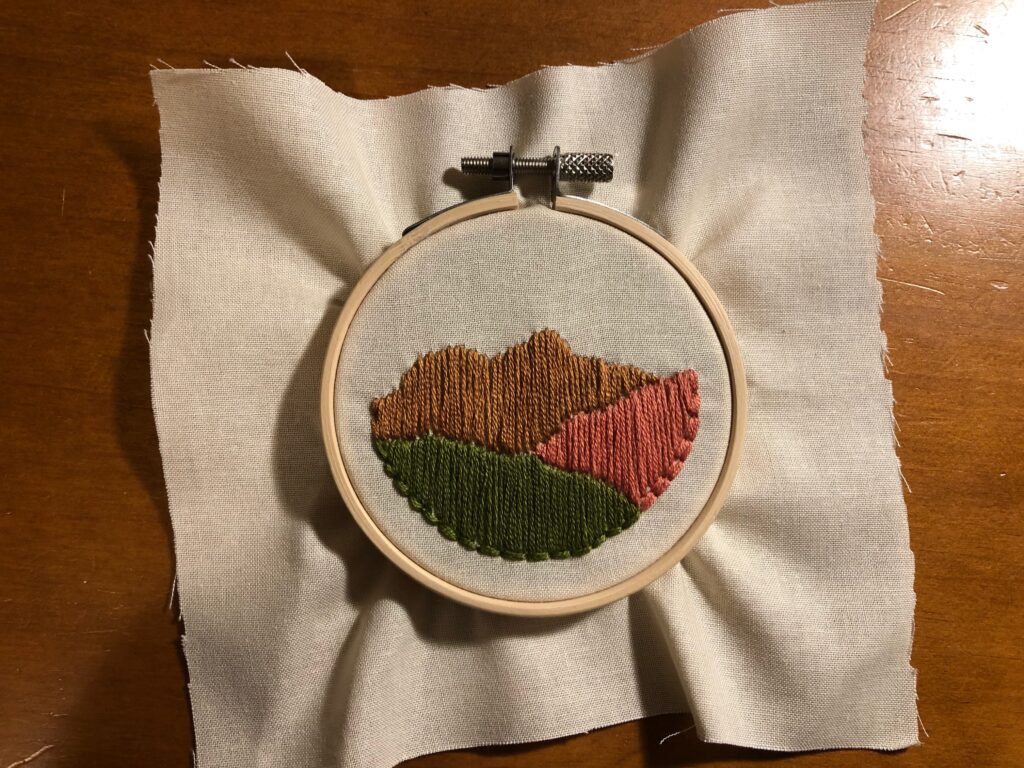
- I found it challenging to keep the edges looking clean – hence why I added a back stitch border along the landscape shadow section. For the pink fill in particular, I was too far from the edge of the hoop, I had to add two rows of the back stitch!
- I used 6 threads for this project. This decision was mostly due to my laziness and not wanting to split my thread (the last time I did, it led to me having to untangle knots for a long time…). I wonder what difference the fill would look with a thinner thread? I imagine it will require more stitches to fill the same amount of area, however, will it differ appearance wise? I believe the fill would look more fine and flat, which may look even better!
Featured Photo by Lexi T on Unsplash
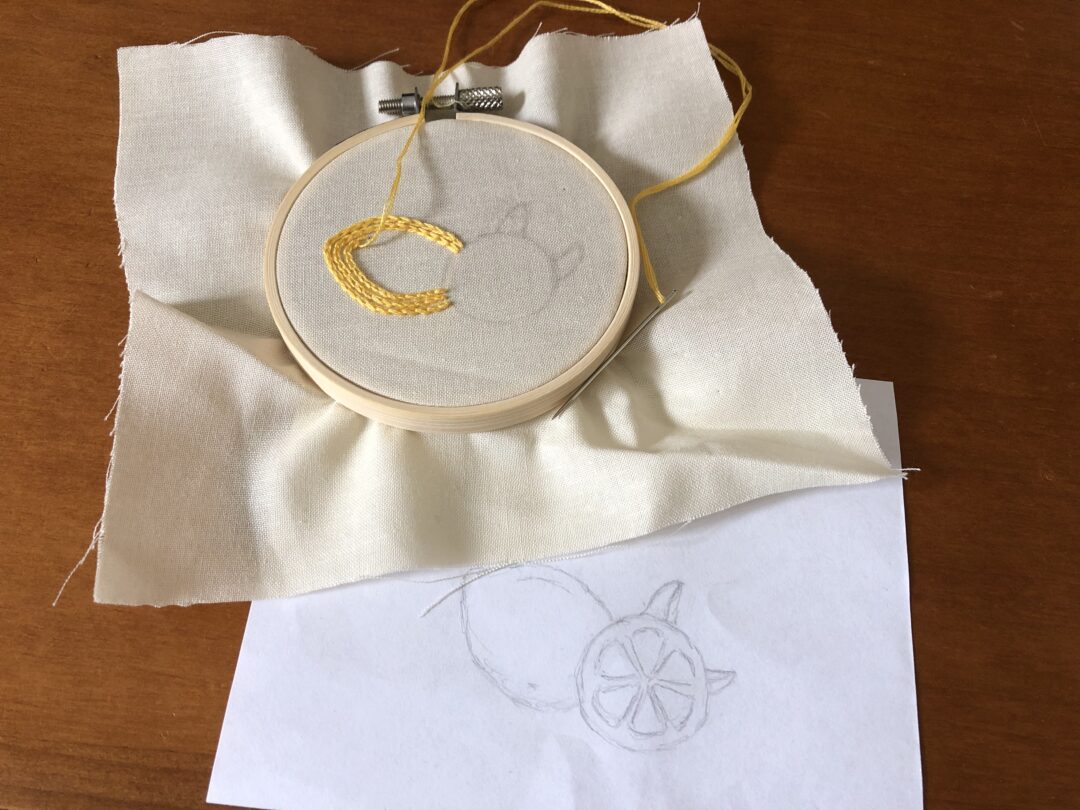
Photos by Juli O. (CC BY-NC-ND 4.0)